As a man who has spent the last decade creating videos, I can tell you that nothing is impossible in the world of video. If someone asks me “Can we do X?”, the answer is always yes. That is, of course, not the same answer I would give to someone asking me “Can we do X quickly?”
To an experienced editor, all video editing lies somewhere between dropping clips on a timeline and manually creating every pixel of every frame from scratch. Eventually… EVENTUALLY, you can produce anything. Imagine the “monkeys sitting at a typewriter” thought experiment (also, this), but instead of typing, they are inputting color values for individual pixels along different frames. The real limiting factor is not your skills, imagination, or toolset. The only limiting factor is time.
That’s why it’s so important to equip yourself with the tools you need to save time, and THAT’S why Region Scope is such a powerful tool.
In all reality, Region Scope doesn’t do anything that you don’t already know how to do. But it does do it a heck of a lot faster.
As the name implies, Region Scope displays the color range of pixels in a region that you select. This is useful when color correcting shots with an element in the image that falls close to human skin tones. For example, the presence of an acoustic guitar in your shot can make it much harder to identify the colors associated with certain human skin tones. So you need to find a way to only display colors for the character’s skin, not the guitar. Conventionally, this is done using some combination of cutting out masks, duplicating layers, muting, selecting readouts, applying effects, undoing, deleting, merging, yada yada yada.
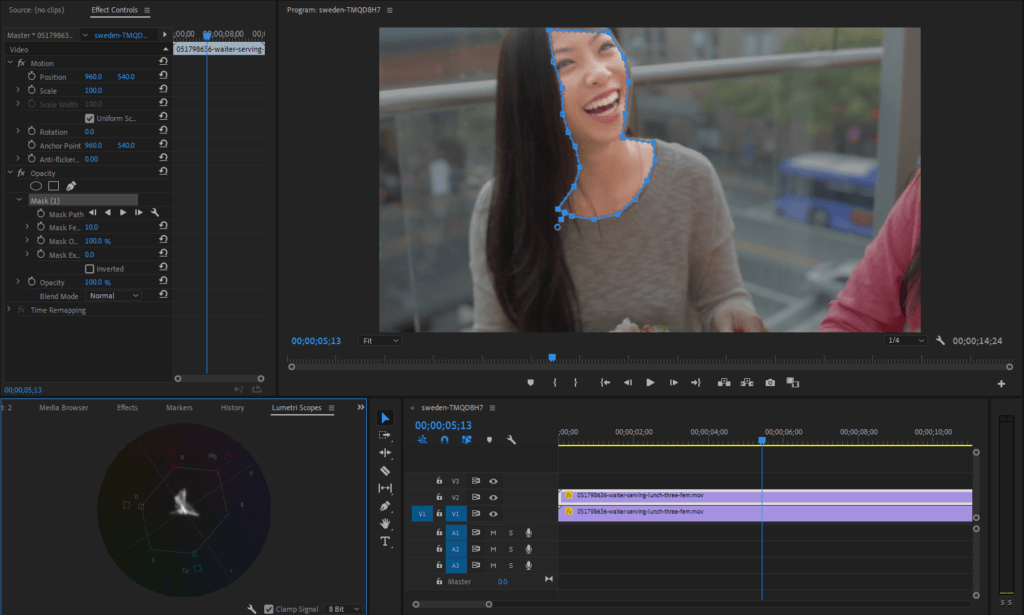 Conventional duplicate/opacity method. Gross
Instead of all that noise, Region Scope provides you with a simple-to-use set of controls for selecting a region to read.
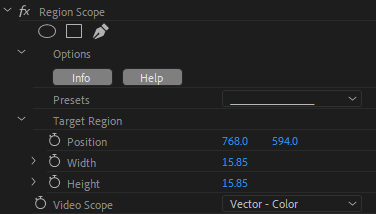
The controls for Region Scope include a position grid, where you can choose the center of your region, Width, and Height sliders, where you can determine the dimensions of your region, and Video Scope, which lets you select from a list of options for displaying your color values.
Ultimately, your goal is to use the controls to highlight an area of your shot containing skin tones, and use your color correction plugin(s) to align your color values with the top left line of the radial readout.
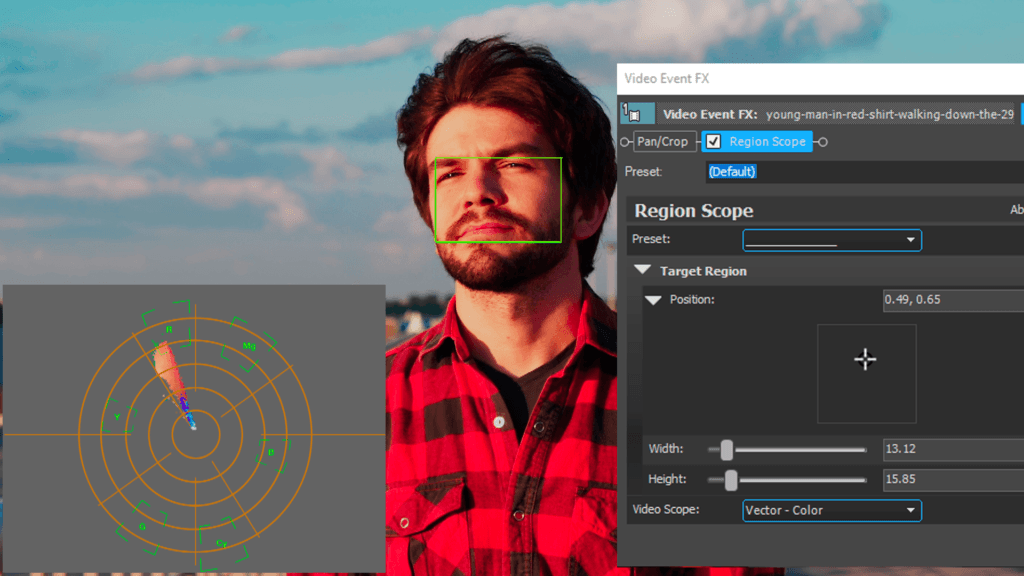
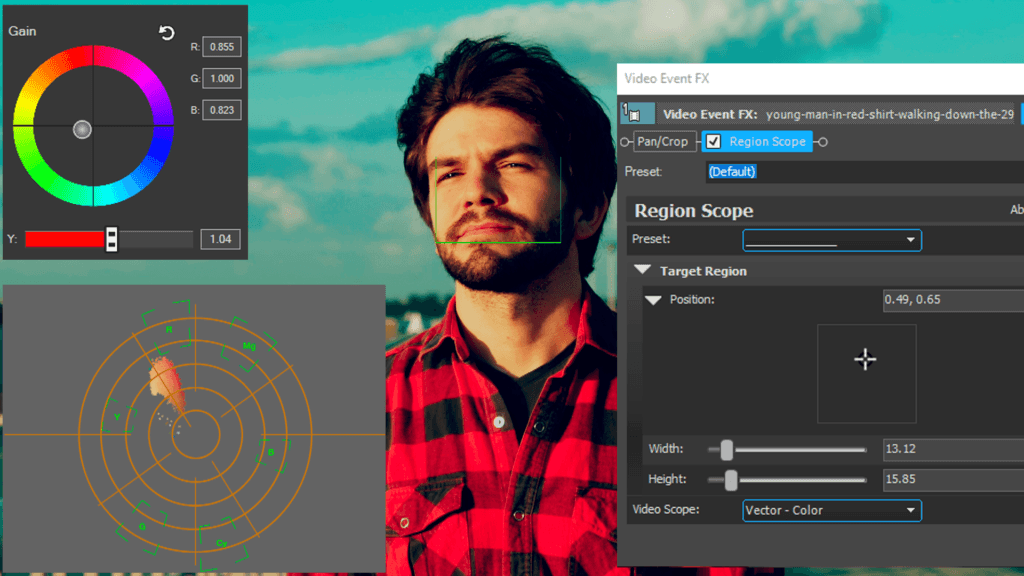 The raw footage (Top) displays too much red in our actor’s face. By pulling our Gain slider down into the green, we were able to line up his face color with the “skin tone” line (Bottom)
When you’re done, simply disable the effect in your NLE. It can be re-enabled at any time in the future, making feedback and revisions and proper color grading a breeze.

If you’ve ever had to read specified regions in other software, you know immediately how useful this can be. Region Scope has quickly become one of my go-to editing tools, and I believe if you try it, it will be the same for you. Try out Region Scope and the entire collection of video essentials at https://newbluefx.com/products/essentials
Happy editing,
Sean

Essentials 5 Volume 1
Quickly enhance details, boost colors, remove image noise, and more.