You may have had a chance to learn a bit about the new RetroCraft Collection. Now we want to show you what’s possible. In this FX Tip, we’ll show you how easy it is to apply and customize RetroCraft’s templates to fit your production.
In this tutorial, we’re going to make an opening title for a cooking show and then a lower third introducing the contestant.

Let’s Start Creating Titles with RetroCraft in 9 Easy Steps
Step 1:
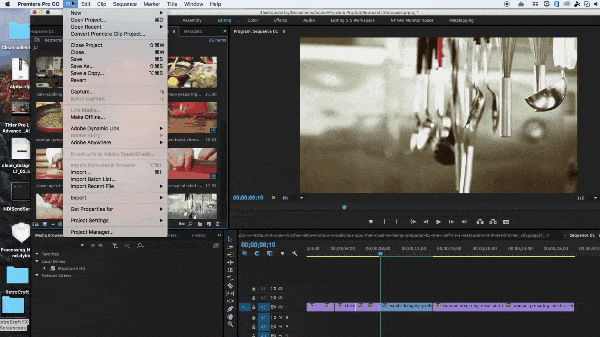
Open Titler Pro and select a template. For this title, we are choosing the Crafty Main Title from the RetroCraft Collection and dragging it to the timeline.

Step 2:
Now that we’ve chosen our template, we’ll edit the text to fit our show. In this case, the show title is “Master Cook” and the tagline is “The Next Top Chef.”
Step 3:
Now it’s time to add a unique touch to this template. Each template in the RetroCraft collection is fully customizable, so we will leverage this to make the template fit more in line with our show. First, make sure your view is set to Black Background. You can change it by going to View> Black Background. This will help in distinguishing colors in the next step.
Step 4:
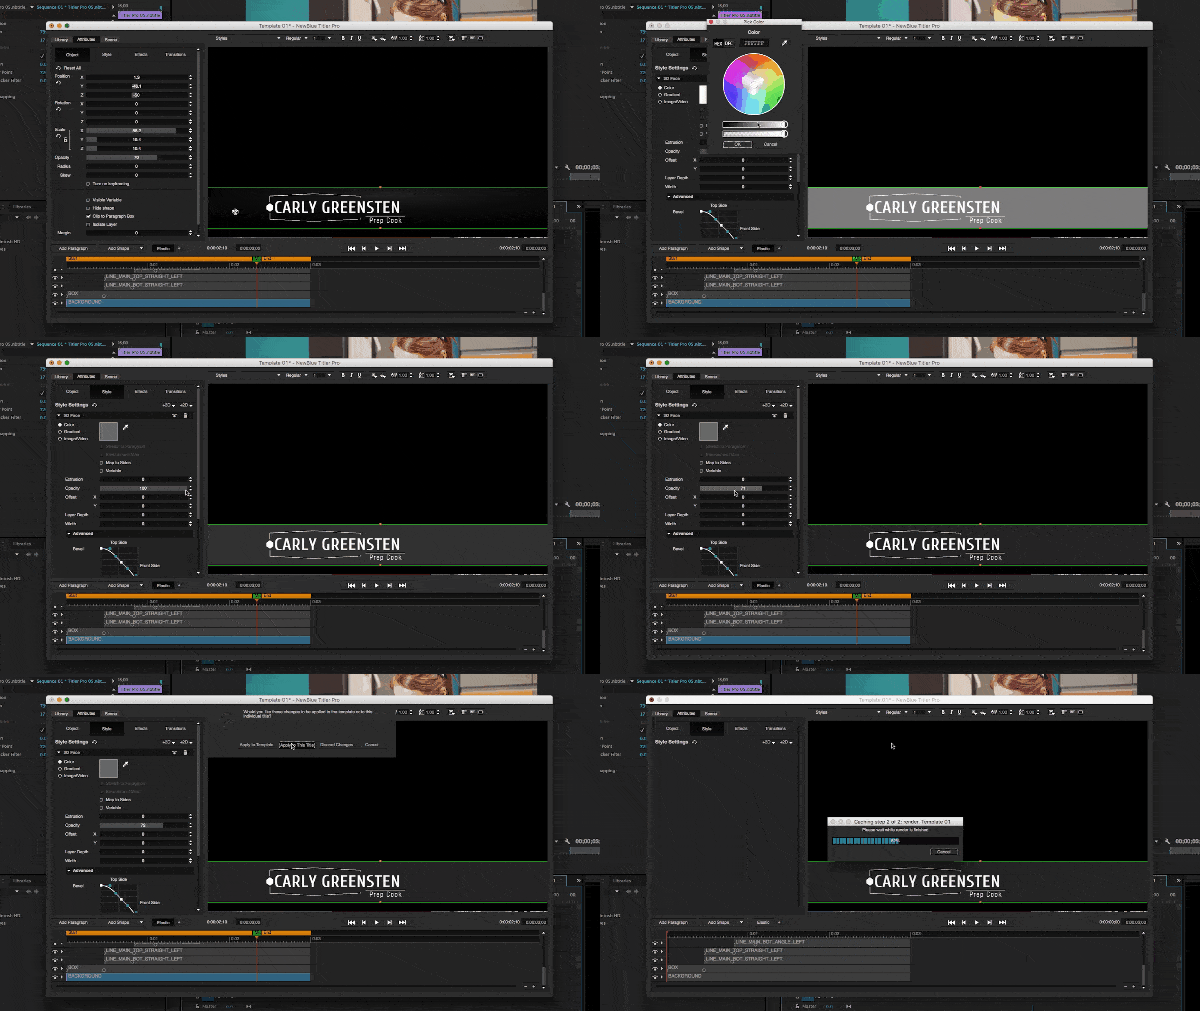
Next, click on the Gradient layer, set the style to “Color” and slide it to “Grey” from the color wheel. Then, head over to the Style tab and lower the opacity to 72. Finally, set the duration of your title. In this case, our title is 10 seconds.
Step 5:
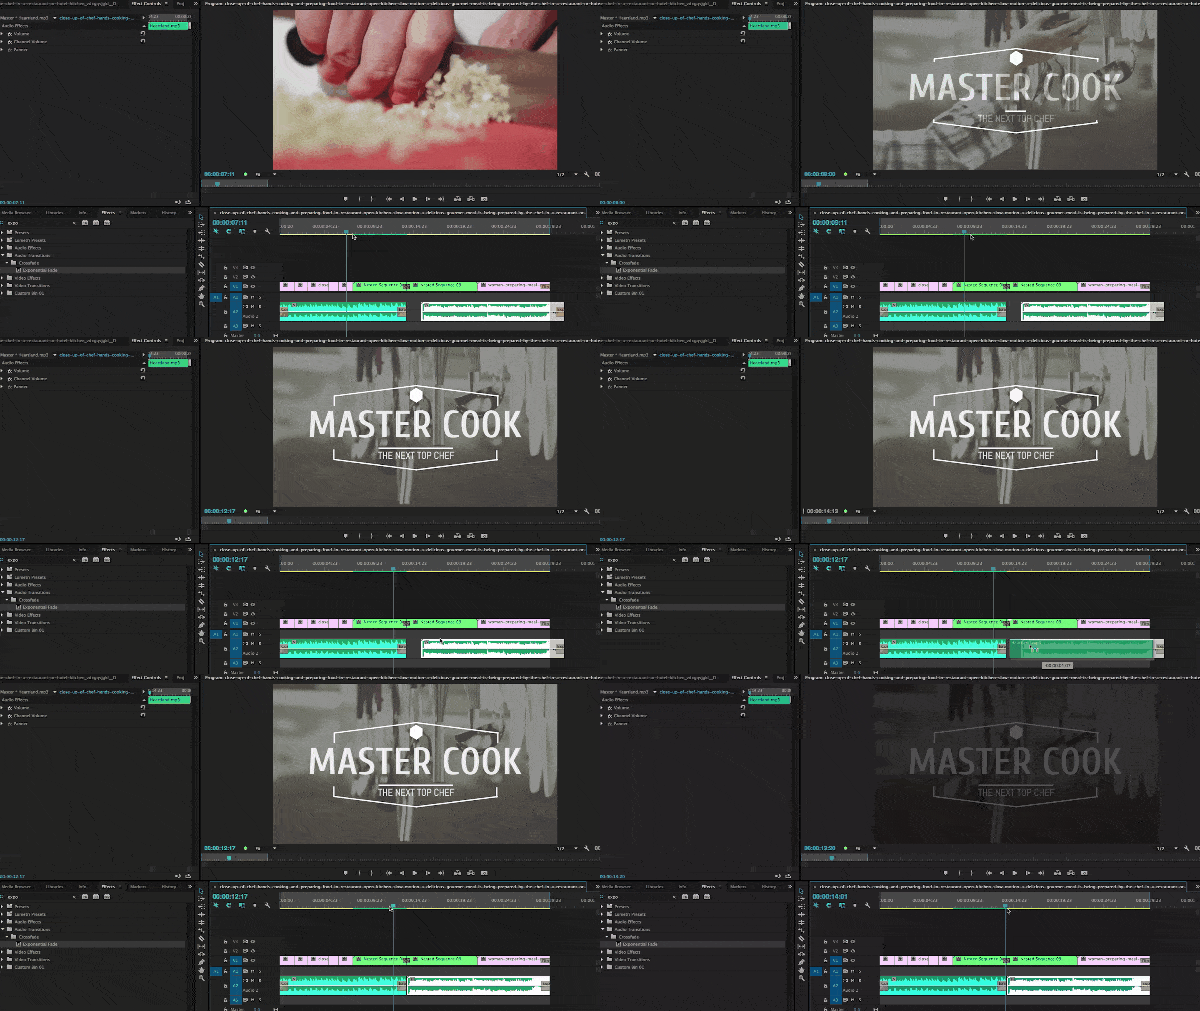
Now that we’ve placed a nice opacity on this template, we’ll want to save our changes by exiting Titler Pro. Your title will render and become visible in your project bin. Place it on top of your clip in the timeline and resize it to fit your needs.
Step 6:
It’s time to work on our lower third. Open another instance of Titler and select the Crafty L3rd template from the RetroCraft Collection. Enter your subject’s name and subtitle.
Step 7:
Now let’s customize our template to match the customizations we made on our Main Title. Select the “Gradient” layer and change it to “Color.” Select Grey and reduce the opacity to about “80” to match the main title. Now set your title’s duration and close TItler Pro.

Step 8:
Import the soundtrack from your show. We found this one free on Youtube. Scrub through your timeline to view the final result to make sure it fits your needs.

Step 9:
And that’s it. View the finished video below and make sure you check out the new RetroCraft collection.
Share your own creations using RetroCraft with us in the comments below.
The RetroCraft Collection is compatible with the entirety of Titler Pro.
What is Titler Pro?
How can I purchase RetroCraft?